Bearing Inspection: A Critical Factor in Motor Repair May 13, 2022
Bearing failure accounts for over half of all electric motor breakdowns. So when a motor comes in for repair at Duke, cutting and inspecting every bearing is critical to making the best repair recommendation. Knowing why the bearing failed and taking the appropriate steps to prevent it from happening again will improve the motor’s lifetime performance.
We like to refer to the AEGIS Handbook when it comes to following the proper procedures for bearing inspection. In addition to the manual, you should also refer to other bearing failure analysis experts to determine the root cause. Following established safety precautions and using personal protective equipment is the first critical piece to any motor repair.
Need Motor Repiar Now?
Our CSA-Certified repair facility can help you get back up and running.
Steps to Follow for Bearing Inspection:
-
Inspect the outside and inside of the bearings, and keep a sample of the lubricant to examine for:
- Contamination
- Signs of excessive heat
- Hardening of the grease
- Discolouration (blackened grease)
- Excess grease
-
Remove seals or shields first, then cut the outer race into halves.
-
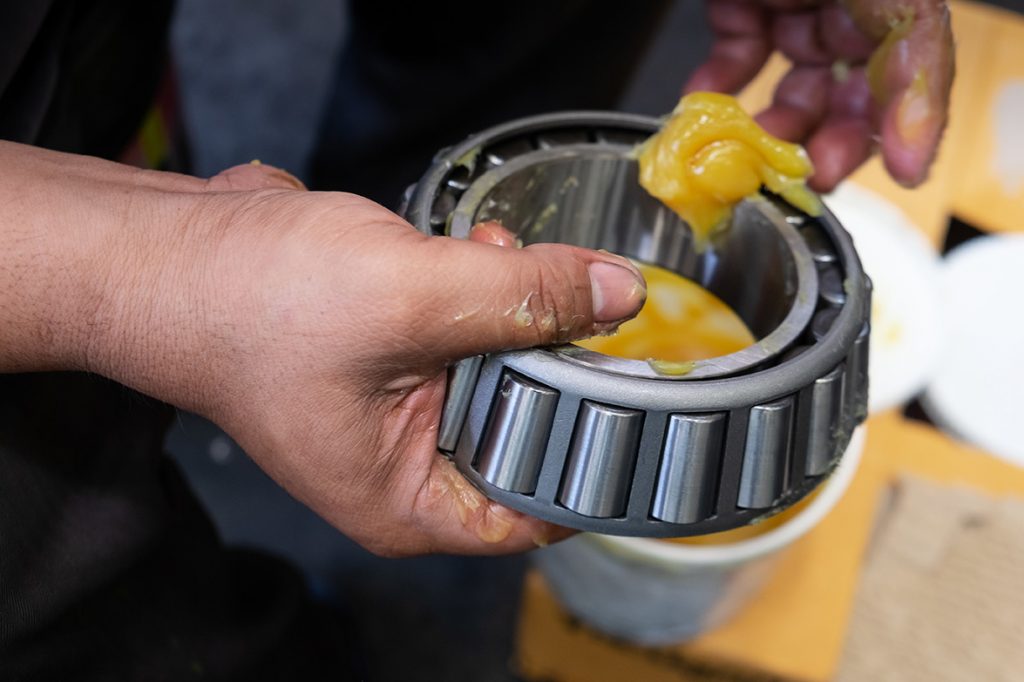
Inspect the grease and look for contaminations like:
- Burnt grease – burnt grease is caused by continuous electrical arcing, which deteriorates the lubricating capability of the grease and causes damage.
- Contamination – the electrical arcing can cause small metal, abrasive particles to loosen from the bearing races distributed in the grease, causing damage.
-
Clean the bearing’s components using a degreaser or solvent, following all safety precautions.
-
Inspect for evidence of Electrical Discharge Machining (EDM) – EDM damage is caused by millions of tiny electrical pits created when shaft voltage discharges through the motor’s bearings. The voltage overwhelms the dielectric of the bearing lubrication and arcs through the inner race and to the outer race.
-
Frosting – frosting appears to be a grey discoloured line around all the bearing races and is visible in both the inner and outer race. Mechanical wear and EDM cause that sort of discolouration. You can use a microscope to determine if the lie is EDM or mechanical.
-
Fluting damage – fluting damage (not to be confused with brinelling) is identified by a distinctive washboard pattern that can be seen with the naked eye or magnification.
